Blackout Dates for Authorizations
Tip: You can press Ctrl-F on your keyboard to search this topic.
The Blackout Date section of an existing authorization can be used to specify any dates that are not available for Provider visits to be scheduled.
Add Blackout Dates
Users can add Blackout Dates as described in the following table.
|
Step |
Action |
|---|---|
|
1 |
Search for and select the Member. |
|
2 |
On the Authorization tab, click the ellipsis (…) and select Edit.
Selecting Edit |
|
3 |
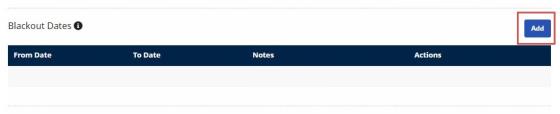
When the authorization has loaded, click Add in the Blackout Date section.
Clicking Add |
| 4 |
In the Blackout Dates section, set the From Date and To Date, type Notes describing the blackout period, and then click Add.
Adding Blackout Dates |


View Blackout Dates
Existing blackout dates can be viewed in the Blackout Date section (under the Diagnosis Codes section) of the Authorization as described in the following table.
|
Step |
Action |
|---|---|
|
1 |
From the Authorization tab, click the ellipsis (…) and select View.
Selecting View |
|
2 |
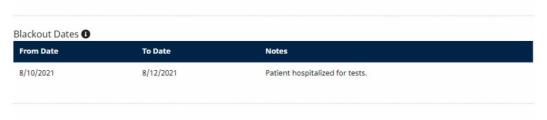
When the authorization has loaded, view details of its Blackout Dates.
Viewing Blackout Date data |

If an authorization contains a Blackout Date, the Calendar Page icon  is displayed beside Auth Type in the Authorization list.
Hover over the icon to display a maximum of two Blackout Date ranges and notes.
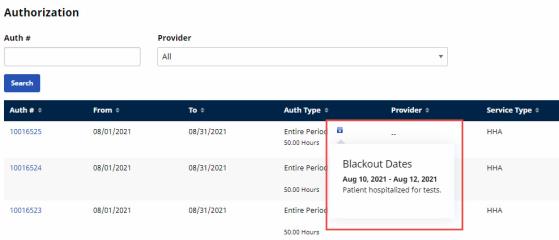
Hovering over a Blackout Date icon
If there are more than two Blackout Date ranges for the authorization, a View Authorization link is displayed. Click the link for additional Blackout Date details.
Edit Blackout Dates
User can edit Blackout Dates as described in the following table.
|
Step |
Action |
|---|---|
|
1 |
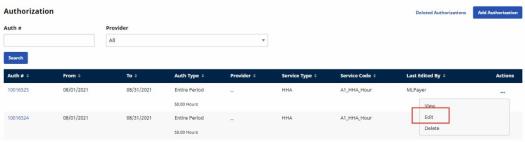
On the Authorization tab, click the ellipsis (…) and select Edit.
Selecting Edit |
|
2 |
When the authorization has loaded, click the Edit icon
Clicking the Edit icon |
|
3 |
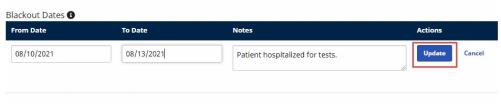
Change the From Date, To Date, and Notes as needed, click Update, and then click Save.
Updating Blackout Date data |
 for the existing Blackout Dates you want to change.
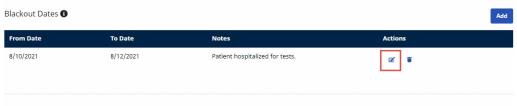
Delete Blackout Dates
Users can delete Blackout Dates as described in the following table.
|
Step |
Action |
|---|---|
|
1 |
On the Authorization tab, click the ellipsis (…) and select Edit.
Selecting Edit |
|
2 |
When the authorization has loaded, click the Trash icon
Clicking the Trash icon |
|
3 |
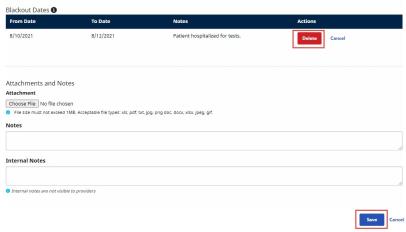
Click Delete, and then click Save.
Deleting Blackout Dates |

 for the existing Blackout Dates you want to delete.
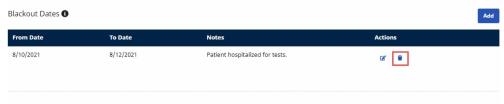
Permission to Set Blackout Dates
Permission for the Blackout Dates feature is role-based and granted from Admin, User Management, Roles and Role Assignments.
Expand the user's Role and set Permissions for to Patient (Member).
Select Add/Edit Authorization Blackout Dates under the Patient (Member) Authorization category.
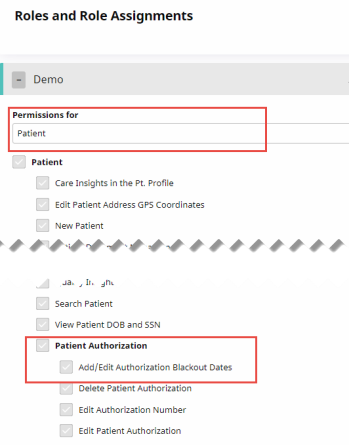
Blackout Dates Permissions